Installing a MWRCTV POE security camera system is easy—but running POE cables through walls can feel intimidating, especially if you’re new to DIY home projects. Drilling holes, feeding cables, and keeping your walls neat doesn’t have to be a hassle. This step-by-step guide will walk you through how to run POE Ethernet cables through walls (indoor and outdoor) safely, cleanly, and without damaging your home—perfect for homeowners who want a tidy POE camera setup.
We’ll focus on simple, beginner-friendly methods, using tools you probably already have (or can easily get). Plus, we’ll share pro tips specific to MWRCTV POE cameras and cables, so you can ensure a reliable connection for your security system.
What You’ll Need (Tools & Materials)
Before you start, gather these tools—most are included in basic DIY kits, and some may even come with your MWRCTV POE kit (check the accessories first!):
MWRCTV POE Ethernet cable (Cat5e or Cat6, length matching your needs—we recommend 10-20 meters for most homes)
Drill with a masonry bit (for brick/concrete walls) or wood bit (for drywall/wooden walls)
Cable fish tape
Wall plate with Ethernet jack (optional, for a cleaner look)
Cable clips (to secure cables along walls/ceilings)
Tape measure (to measure cable length and hole placement)
Safety goggles and gloves (to protect your eyes and hands while drilling)
Putty or caulk (to seal holes after running cables, optional but recommended for outdoor walls)
Step 1: Plan Your Cable Route (Critical for Success)
The first step is to plan where you’ll run the POE cable—this will save you time and avoid mistakes. Follow these tips for MWRCTV POE camera setups:
Choose a route that’s short and straight: The shorter the cable, the better (POE cables can run up to 100 meters, but shorter cables reduce signal loss).
Avoid electrical wires: Keep POE cables at least 30cm away from electrical wires to prevent interference (this ensures your MWRCTV POE camera footage stays clear).
Mark your drill points: Use a pencil to mark where you’ll drill holes (one hole where the camera is mounted, another where the NVR is located).
Outdoor vs. indoor: For outdoor walls, choose a spot sheltered from rain/snow (even though MWRCTV POE cables are weather-resistant) to protect the cable entry point.
Step 2: Drill the Holes (Safely & Cleanly)
Drilling the right size hole is key—too small, and the cable won’t fit; too big, and you’ll have a messy gap. Follow these steps:
Put on your safety goggles and gloves.
Choose the right drill bit: Use a 10-12mm bit for most POE cables (Cat5e/Cat6). For masonry walls (brick/concrete), use a masonry bit; for drywall/wood, use a wood bit.
Drill slowly and steadily: Start with a small pilot hole, then switch to the larger bit to avoid cracking the wall.
Drill through both sides of the wall (if going from indoor to outdoor) or from one room to another—take your time to ensure the hole is straight.
Pro tip: Place a piece of tape on the drill bit to mark the depth you need—this prevents drilling too far and damaging wall studs or pipes.
Step 3: Feed the POE Cable Through the Wall
This is the trickiest part, but with a cable fish tape, it’s easy. Here’s how:
Uncoil your MWRCTV POE cable—don’t pull it too tight (this can damage the internal wires).
Attach one end of the cable to the fish tape using electrical tape—make sure it’s secure, so it doesn’t come loose while feeding.
Insert the fish tape into one hole and feed it through to the other hole—move slowly, and if you hit resistance, gently wiggle the tape (don’t force it).
Once the fish tape comes out the other hole, pull it slowly to bring the POE cable through the wall.
Cut the cable to the desired length (leave a little extra—5-10cm—for flexibility when connecting to the camera or NVR).
Step 4: Connect the Cable to Your MWRCTV POE Camera & NVR
Once the cable is through the wall, it’s time to connect it to your MWRCTV POE system—this part is simple:
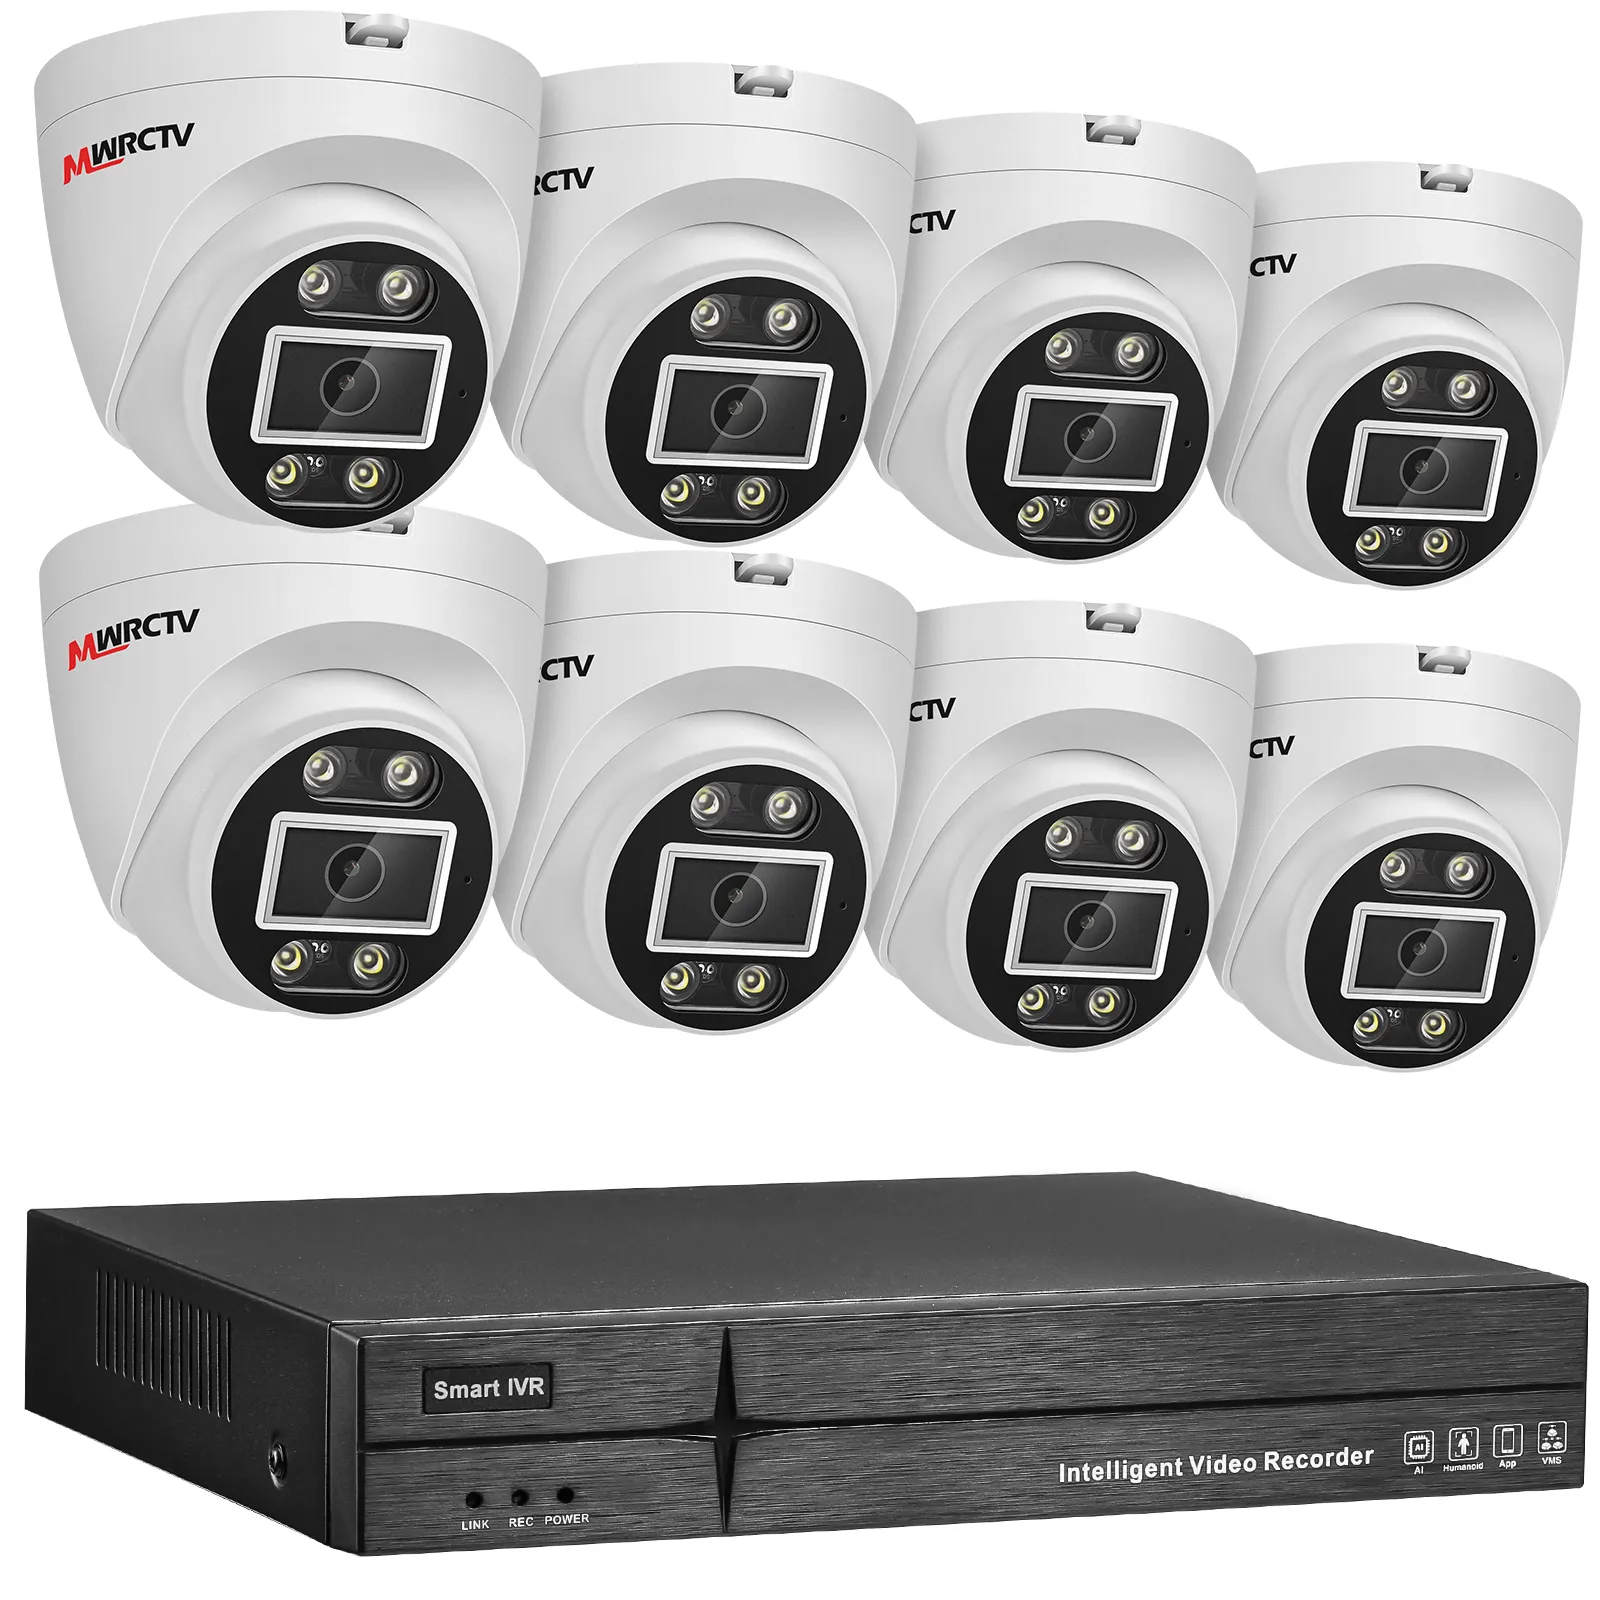
At the camera end: Plug one end of the POE cable into the POE port on the back of your MWRCTV POE camera. Mount the camera to the bracket (as covered in Blog 4).
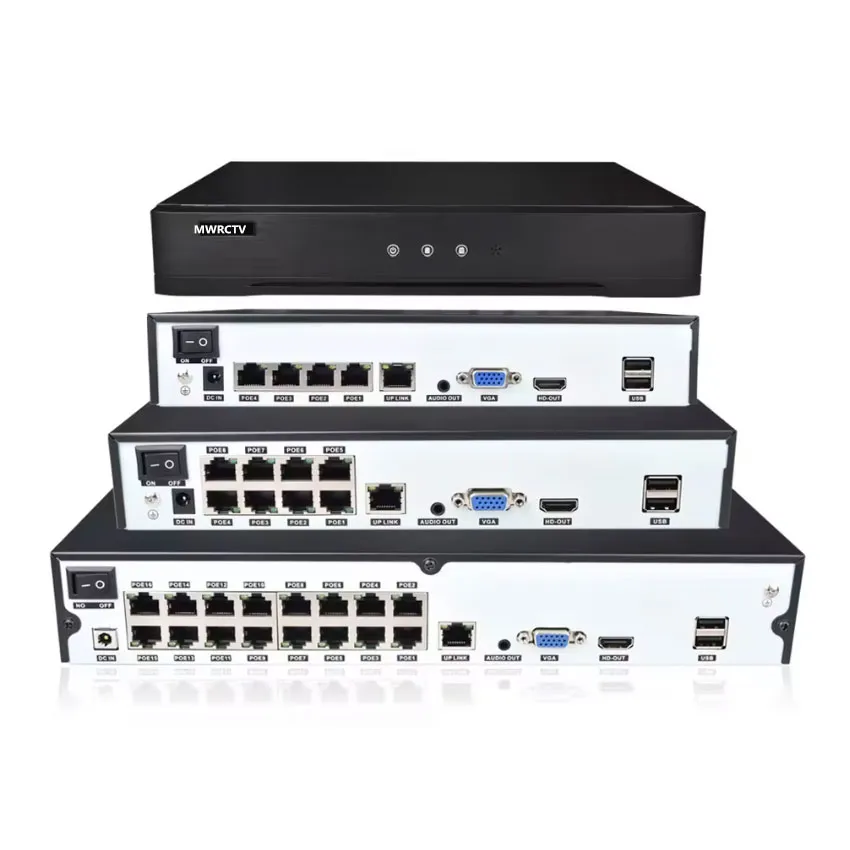
At the NVR end: Plug the other end of the cable into one of the POE ports on your MWRCTV NVR. Turn on the NVR—your camera should power on automatically (look for the LED light on the camera).
Pro tip: If the camera doesn’t power on, check that the cable is securely plugged in—loose connections are the most common issue!
Step 5: Clean Up & Secure the Cables
To keep your setup neat and protect the cables, follow these final steps:
Seal the holes: Use putty or caulk to seal any gaps around the cable (especially for outdoor walls)—this keeps out dust, water, and pests.
Secure the cables: Use cable clips to attach the cable to walls/ceilings, keeping it out of the way and preventing damage.
Hide excess cable: If there’s extra cable, coil it neatly and secure it with zip ties (don’t wrap it too tight—this can affect signal).
Troubleshooting Common Issues
If you run into problems while running POE cables through walls, here’s how to fix them:
Cable won’t feed through the wall: Try wiggling the fish tape gently, or use a longer tape. If the wall is thick, you may need to drill a second hole to guide the cable.
Camera doesn’t power on: Check the cable connections (both camera and NVR), and make sure the NVR is turned on. If the cable is damaged, replace it with a new MWRCTV POE Ethernet cable.
Blurry footage: Ensure the cable isn’t bent or crushed—this can cause signal loss. Straighten the cable and check the connections again.
Final Thoughts
Running POE cables through walls is easier than you think—with the right tools and this step-by-step guide, even beginners can do it in an hour or two. The key is to plan your route, drill carefully, and take your time feeding the cable.
Ready to install your MWRCTV POE camera system with wall-run cables? Browse our selection of MWRCTV POE kits and accessories today, and contact our customer support if you have any questions.


How to Run POE Cables Through Walls (Step-by-Step for Beginners)
Installing a MWRCTV POE security camera system is easy—but running POE cables through walls can feel intimidating, especially if you’re new to DIY home projects. Drilling holes, feeding cables, and keeping your walls neat doesn’t have to be a hassle. This step-by-step guide will walk you through how to run POE Ethernet cables through walls (indoor and outdoor) safely, cleanly, and without damaging your home—perfect for homeowners who want a tidy POE camera setup.
We’ll focus on simple, beginner-friendly methods, using tools you probably already have (or can easily get). Plus, we’ll share pro tips specific to MWRCTV POE cameras and cables, so you can ensure a reliable connection for your security system.
What You’ll Need (Tools & Materials)
Before you start, gather these tools—most are included in basic DIY kits, and some may even come with your MWRCTV POE kit (check the accessories first!):
Step 1: Plan Your Cable Route (Critical for Success)
The first step is to plan where you’ll run the POE cable—this will save you time and avoid mistakes. Follow these tips for MWRCTV POE camera setups:
Step 2: Drill the Holes (Safely & Cleanly)
Drilling the right size hole is key—too small, and the cable won’t fit; too big, and you’ll have a messy gap. Follow these steps:
Pro tip: Place a piece of tape on the drill bit to mark the depth you need—this prevents drilling too far and damaging wall studs or pipes.
Step 3: Feed the POE Cable Through the Wall
This is the trickiest part, but with a cable fish tape, it’s easy. Here’s how:
Step 4: Connect the Cable to Your MWRCTV POE Camera & NVR
Once the cable is through the wall, it’s time to connect it to your MWRCTV POE system—this part is simple:
Pro tip: If the camera doesn’t power on, check that the cable is securely plugged in—loose connections are the most common issue!
Step 5: Clean Up & Secure the Cables
To keep your setup neat and protect the cables, follow these final steps:
Troubleshooting Common Issues
If you run into problems while running POE cables through walls, here’s how to fix them:
Final Thoughts
Running POE cables through walls is easier than you think—with the right tools and this step-by-step guide, even beginners can do it in an hour or two. The key is to plan your route, drill carefully, and take your time feeding the cable.
Ready to install your MWRCTV POE camera system with wall-run cables? Browse our selection of MWRCTV POE kits and accessories today, and contact our customer support if you have any questions.