Outdoor security cameras are a must for protecting your home—they deter intruders, monitor your driveway, backyard, and entry points, and give you peace of mind when you’re away. But mounting POE cameras outdoors comes with unique challenges: rain, snow, heat, cold, and even tampering can damage your equipment if you don’t install it correctly.
Fortunately, installing MWRCTV POE cameras outdoors is easy—even for beginners—if you follow the right steps and focus on weatherproofing. This guide will walk you through how to mount POE cameras outdoors step-by-step, share essential weatherproof tips to keep your camera safe, and highlight how MWRCTV POE cameras (4MP/8MP models) are designed for outdoor use. We’ll also build on the basic installation skills you may already know, so you can confidently set up your outdoor POE system.
First: Why MWRCTV POE Cameras Are Perfect for Outdoor Use
Before we start, let’s cover why MWRCTV POE cameras are ideal for outdoor installation—this will help you understand how to leverage their design for maximum durability:
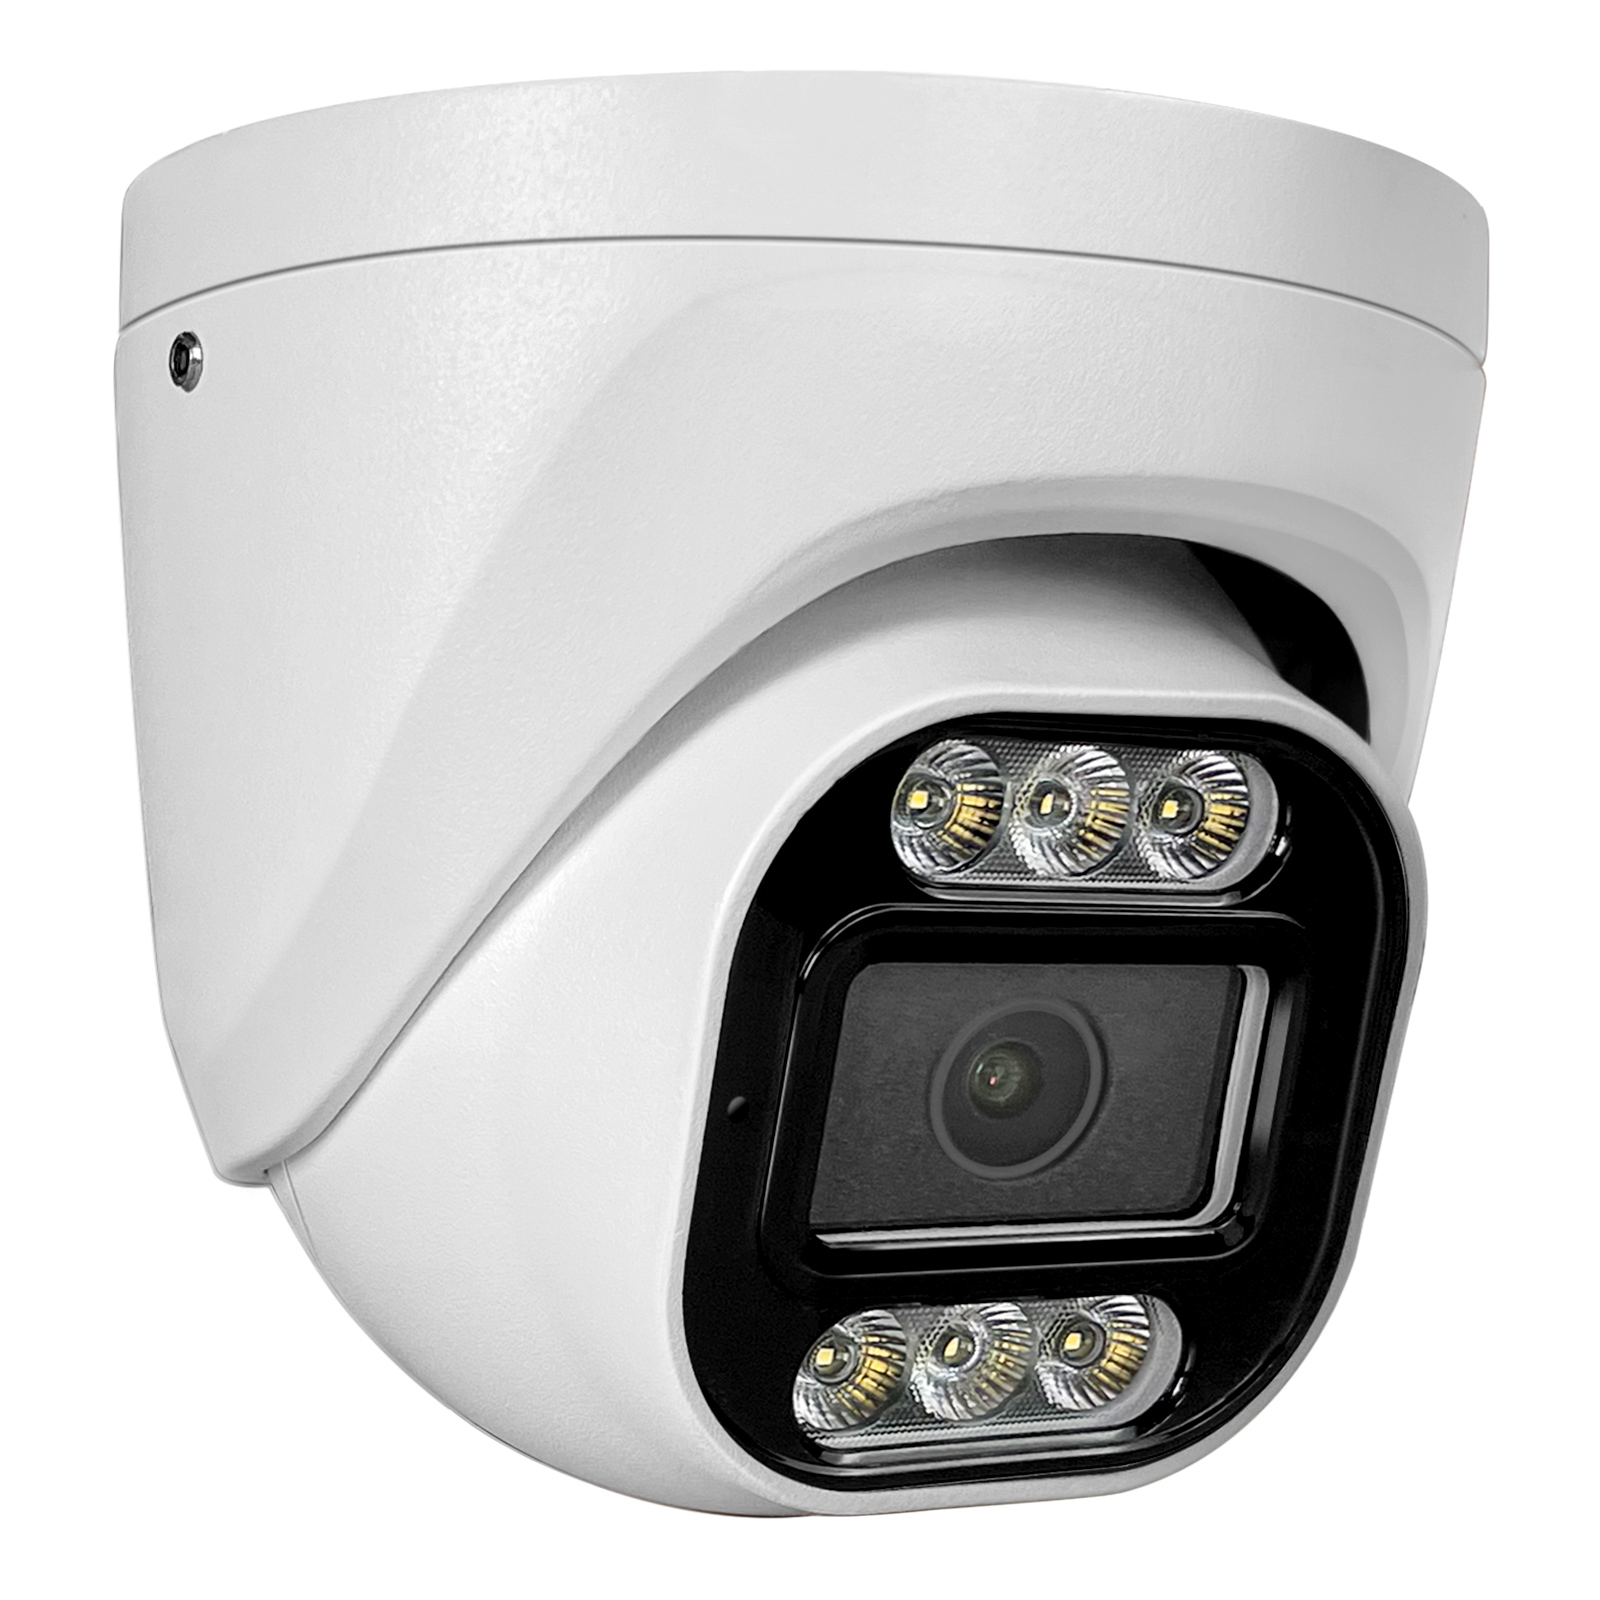
IP66 Waterproof Rating: MWRCTV POE cameras are IP66-rated, meaning they’re completely dust-tight and protected against powerful water jets (rain, snow, even heavy downpours). This is critical for outdoor use, as it prevents water damage to the camera’s internal components.
All-Weather Durability: They’re built to withstand extreme temperatures (from -20°C to 60°C), so they work perfectly in hot summers and cold winters.
Single Cable Installation: POE cameras use one Ethernet cable for power and data (no separate power cord), which reduces the number of connections vulnerable to water damage (unlike wireless cameras with battery packs).
Even with these features, proper installation and weatherproofing are key to ensuring your camera lasts for years. Let’s dive into the step-by-step process.
What You’ll Need (Most Included in MWRCTV POE Kits)
Gather these tools and materials before you start—most are included in your MWRCTV POE kit, so you won’t need to buy extra items:
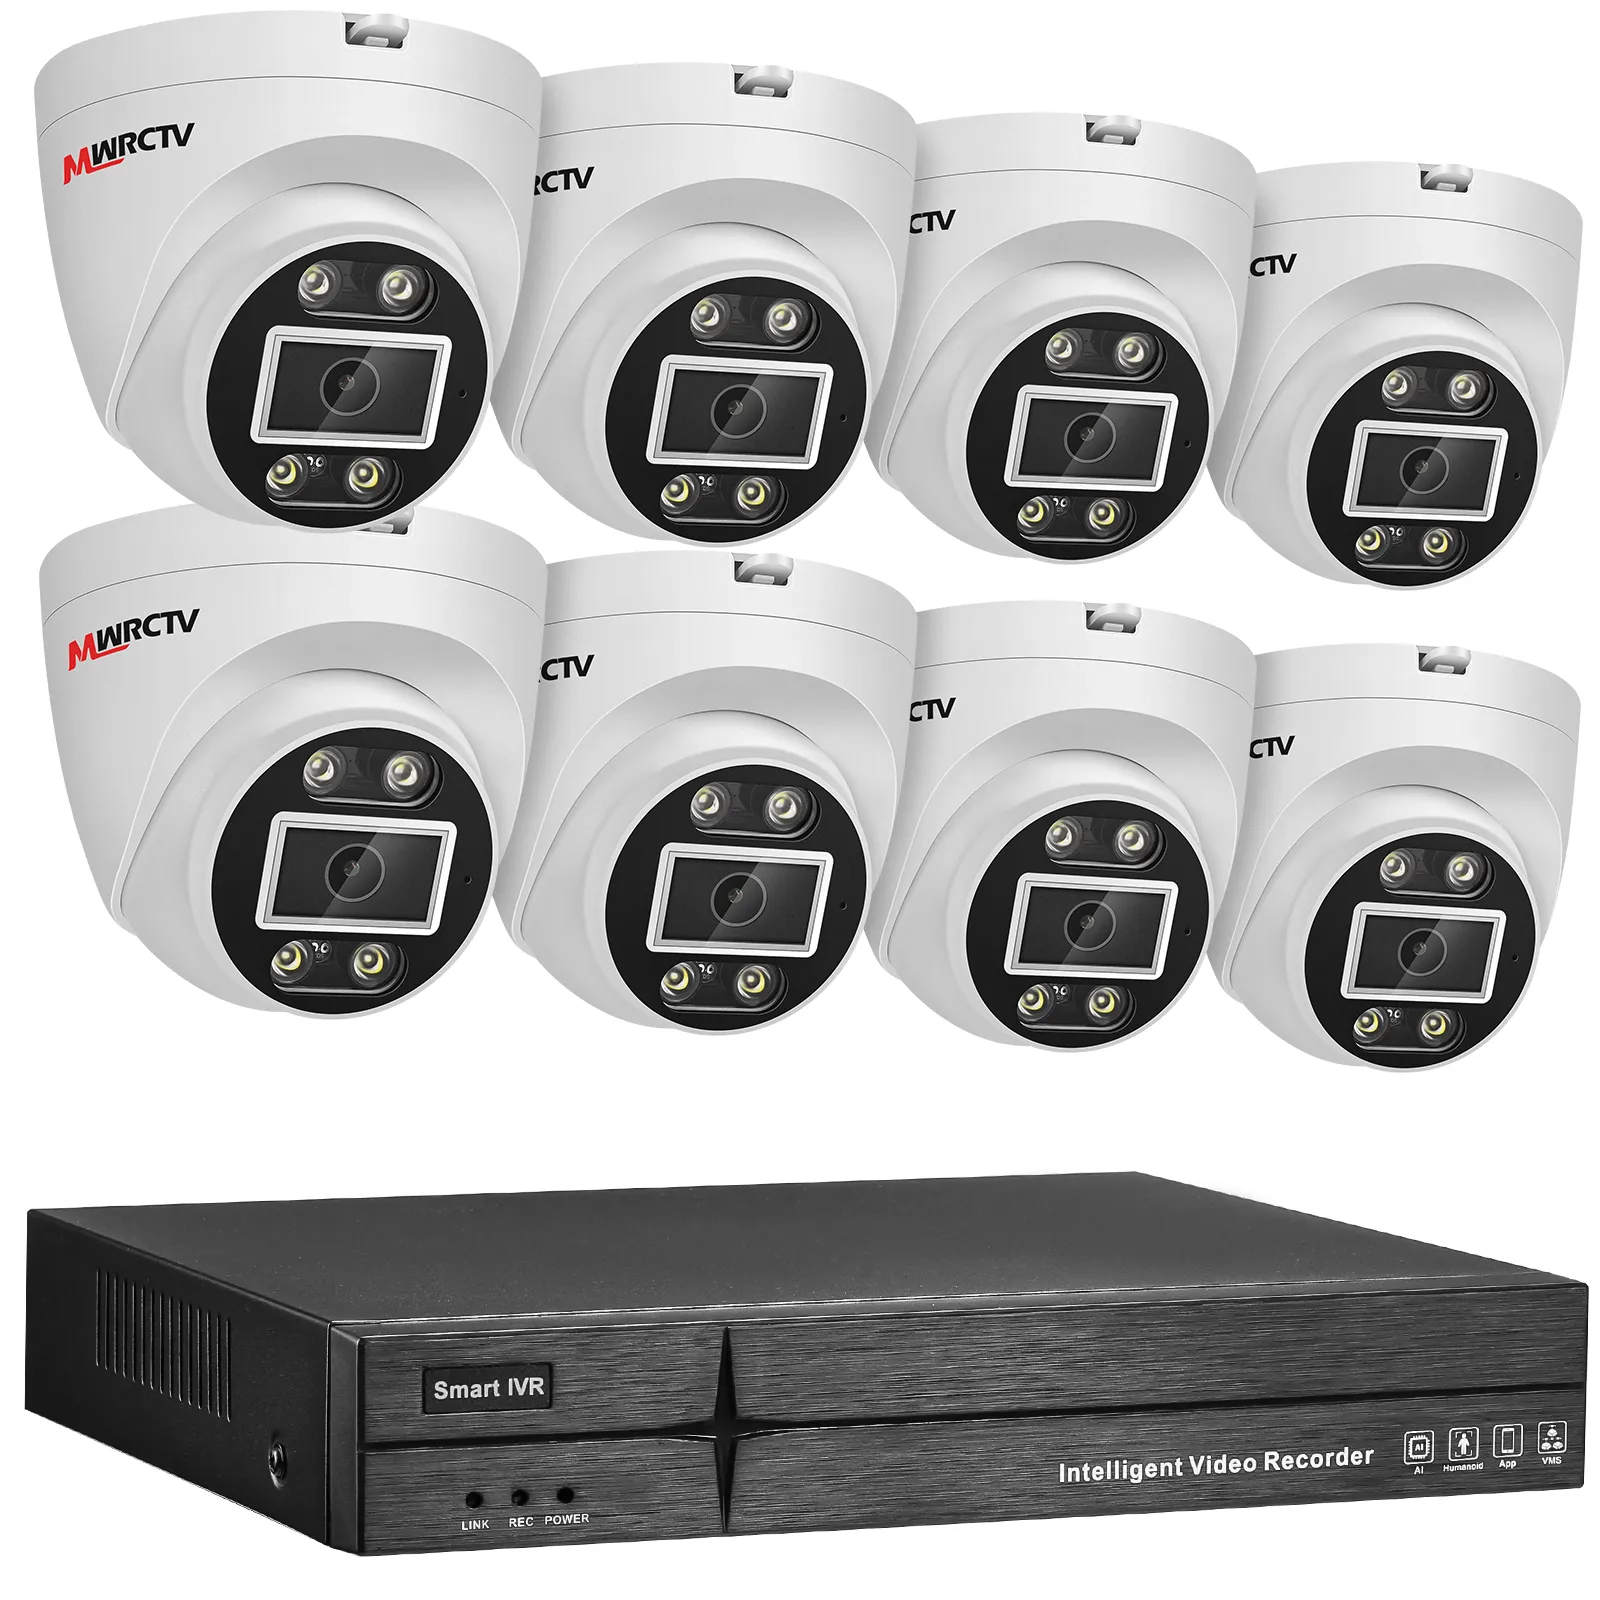
MWRCTV POE camera (4MP/8MP, outdoor model)
Mounting screws (included in the kit)
Cat5e/Cat6 Ethernet cable (MWRCTV-branded, for POE compatibility)
Waterproof cable gland (included in MWRCTV outdoor POE kits)
Drill and appropriate drill bit (masonry bit for brick/concrete walls, wood bit for wood/vinyl siding)
Screwdriver (Phillips-head, included in the kit)
Caulk or silicone sealant (for sealing wall holes)
Cable clips (weather-resistant, for securing outdoor cables)
Safety goggles and gloves (for drilling)
Step-by-Step Guide to Mounting POE Cameras Outdoors
Follow these steps to mount your MWRCTV POE camera outdoors—we’ll focus on weatherproofing at every stage to protect your equipment.
Step 1: Choose the Right Outdoor Placement
The first step is to choose the best spot for your outdoor POE camera—this affects both security and camera durability. Follow these placement tips:
Avoid low-lying areas: Don’t mount the camera in spots where water pools (e.g., near the ground, in a ditch)—this increases the risk of water damage.
Mount high (2.5-3 meters): This prevents tampering and gives a wide viewing angle. Mount it under an overhang, eave, or roof if possible—this adds extra protection from rain and direct sunlight.
Avoid direct sunlight: Pointing the camera directly at the sun (especially at dawn/dusk) can cause glare and damage the lens over time. Aim it away from direct sunlight.
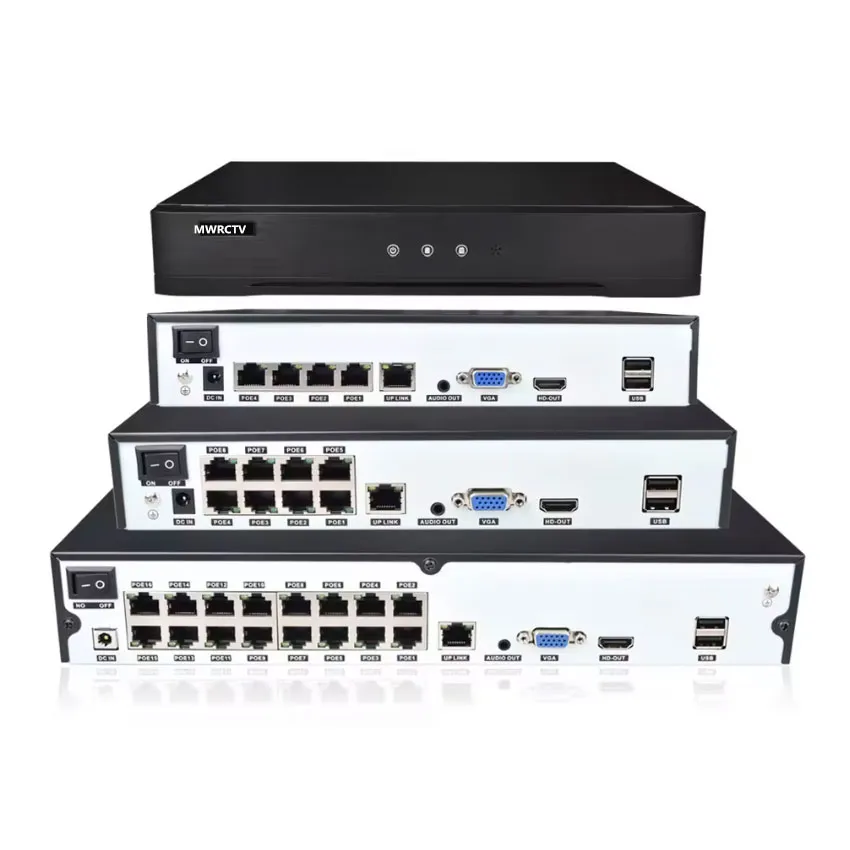
Ensure cable access: Choose a spot where you can easily run the Ethernet cable to your MWRCTV POE NVR.
Step 2: Mount the Camera Bracket (Securely & Level)
The bracket is the foundation of your camera—if it’s loose or unlevel, your camera will wobble or capture blurry footage. Here’s how to mount it:
Hold the bracket against the wall (or eave) in your chosen spot, and use a pencil to mark the screw holes.
Put on your safety goggles and drill pilot holes (smaller than the screws) at the marked spots. For masonry walls, use a masonry bit; for wood/vinyl, use a wood bit.
Line up the bracket with the pilot holes, and use the included screws to secure it to the wall. Tighten the screws firmly—don’t over-tighten, as this can crack the bracket or
wall.
Use a level to ensure the bracket is straight—this ensures your camera captures level footage.
Step 3: Weatherproof the Cable Connection (Critical Step!)
The most vulnerable part of your outdoor POE camera is the Ethernet cable connection—water seeping into the connection can ruin the camera. Follow these steps to weatherproof it:
Thread the Ethernet cable through the waterproof cable gland (included in your MWRCTV kit). The cable gland creates a tight seal around the cable, preventing water from entering the camera.
Plug the Ethernet cable into the POE port on the back of the MWRCTV POE camera. Press firmly until you hear a click to ensure a secure connection.
Tighten the cable gland onto the camera’s port—this creates a waterproof seal. Make sure it’s snug, but don’t over-tighten (you don’t want to damage the port).
Create a “drip loop” with the cable: Leave a small loop of cable below the camera (like a U-shape). This prevents water from running down the cable into the camera—water will drip off the loop instead.
Step 4: Attach the Camera to the Bracket
Once the bracket is mounted and the cable is connected, attach the camera to the bracket:
Align the camera with the bracket (most MWRCTV cameras have a mounting screw on the bottom).
Use the included screw to secure the camera to the bracket. Tighten it firmly to prevent wobbling.
Adjust the camera angle before fully tightening the screw—this makes it easier to get the right view.
Step 5: Adjust the Camera Angle (For Maximum Security)
The right angle ensures your camera captures the most important areas (e.g., driveway, backyard gate, front porch) without glare or blind spots. Here’s how to adjust it:
Have someone view the camera footage on the APP or NVR monitor while you adjust the angle.
Tilt the camera slightly downward (15-30 degrees) to capture clear faces and details—avoid pointing it straight out (this can miss close-up details).
Pan the camera to cover the area you want to monitor (e.g., front door, driveway).
Once the angle is right, tighten the mounting screw to lock the camera in place.
Step 6: Secure the Cable & Seal Wall Holes
To keep your cable safe and prevent water from entering your home, follow these steps:
Use weather-resistant cable clips to secure the Ethernet cable to the wall, eave, or trim. Space the clips every 30-50cm to keep the cable tight and out of the way (avoid dangling cables, which can be damaged by wind or pets).
If you ran the cable through a wall, use caulk or silicone sealant to seal the hole around the cable. This keeps out rain, moisture, and pests.
Run the cable to your MWRCTV POE NVR—avoid running it along the ground (where it can be stepped on or chewed) or in areas where it’s exposed to direct sunlight for long periods (this can damage the cable over time).
Step 7: Test the Camera (Don’t Skip This!)
After installation, test your camera to ensure it’s working properly and weatherproofed:
Check live footage on the NVR monitor and MWRCTV APP—verify the angle is correct and the footage is clear.
Test night vision (turn off outdoor lights or wait until dark) to ensure it works in low light (MWRCTV POE cameras have night vision up to 30 meters).
Test motion detection—walk in front of the camera and check if you get a push notification on your phone.
If it’s raining, check the camera after the rain to ensure no water is seeping into the connection or camera.
These extra tips will help your MWRCTV POE camera last longer and perform better outdoors:
Clean the camera lens regularly: Outdoor cameras get dusty, dirty, or rained on—wipe the lens with a soft cloth every few weeks to keep footage clear.
Avoid mounting near heat sources: Don’t mount the camera near vents, AC units, or other heat sources—this can overheat the camera.
Use MWRCTV-branded cables: Our Ethernet cables are weather-resistant and tested for POE compatibility, reducing the risk of signal loss or damage.
Check the camera after extreme weather: After heavy rain, snow, or wind, check the camera to ensure it’s still secure and working.
Troubleshooting Outdoor POE Camera Issues
If you run into problems with your outdoor POE camera, here’s how to fix them:
Camera not powering on: Check the cable connection (ensure the cable gland is tight) and replace the Ethernet cable if it’s damaged.
Blurry footage: Clean the camera lens, adjust the angle to avoid glare, or check if the cable is loose.
Water inside the camera: Turn off the camera, dry it thoroughly, and reapply the cable gland and caulk—replace the camera if damage is severe.
Night vision not working: Ensure the camera’s IR sensors are clean (dust can block them) and the camera is in a dark area (IR sensors don’t work in bright light).
Final Thoughts
Mounting POE cameras outdoors is easy with MWRCTV—our cameras are designed for outdoor use, and with the right installation and weatherproofing tips, you can ensure they last for years. By following this step-by-step guide, you’ll have a reliable outdoor security system that protects your home day and night.
Remember: The key to successful outdoor POE installation is focusing on weatherproofing—securing cable connections, creating drip loops, and sealing wall holes. With MWRCTV POE cameras and these tips, you can enjoy peace of mind knowing your outdoor areas are protected.
Ready to mount your MWRCTV outdoor POE camera? Browse our selection of outdoor POE kits today, or contact our customer support team if you have any questions about installation.


How to Mount POE Cameras Outdoors (Weatherproof Tips)
Outdoor security cameras are a must for protecting your home—they deter intruders, monitor your driveway, backyard, and entry points, and give you peace of mind when you’re away. But mounting POE cameras outdoors comes with unique challenges: rain, snow, heat, cold, and even tampering can damage your equipment if you don’t install it correctly.
Fortunately, installing MWRCTV POE cameras outdoors is easy—even for beginners—if you follow the right steps and focus on weatherproofing. This guide will walk you through how to mount POE cameras outdoors step-by-step, share essential weatherproof tips to keep your camera safe, and highlight how MWRCTV POE cameras (4MP/8MP models) are designed for outdoor use. We’ll also build on the basic installation skills you may already know, so you can confidently set up your outdoor POE system.
First: Why MWRCTV POE Cameras Are Perfect for Outdoor Use
Before we start, let’s cover why MWRCTV POE cameras are ideal for outdoor installation—this will help you understand how to leverage their design for maximum durability:
Even with these features, proper installation and weatherproofing are key to ensuring your camera lasts for years. Let’s dive into the step-by-step process.
What You’ll Need (Most Included in MWRCTV POE Kits)
Gather these tools and materials before you start—most are included in your MWRCTV POE kit, so you won’t need to buy extra items:
Step-by-Step Guide to Mounting POE Cameras Outdoors
Follow these steps to mount your MWRCTV POE camera outdoors—we’ll focus on weatherproofing at every stage to protect your equipment.
Step 1: Choose the Right Outdoor Placement
The first step is to choose the best spot for your outdoor POE camera—this affects both security and camera durability. Follow these placement tips:
Step 2: Mount the Camera Bracket (Securely & Level)
The bracket is the foundation of your camera—if it’s loose or unlevel, your camera will wobble or capture blurry footage. Here’s how to mount it:
Step 3: Weatherproof the Cable Connection (Critical Step!)
The most vulnerable part of your outdoor POE camera is the Ethernet cable connection—water seeping into the connection can ruin the camera. Follow these steps to weatherproof it:
Step 4: Attach the Camera to the Bracket
Once the bracket is mounted and the cable is connected, attach the camera to the bracket:
Step 5: Adjust the Camera Angle (For Maximum Security)
The right angle ensures your camera captures the most important areas (e.g., driveway, backyard gate, front porch) without glare or blind spots. Here’s how to adjust it:
Step 6: Secure the Cable & Seal Wall Holes
To keep your cable safe and prevent water from entering your home, follow these steps:
Step 7: Test the Camera (Don’t Skip This!)
After installation, test your camera to ensure it’s working properly and weatherproofed:
Additional Outdoor POE Installation Tips (MWRCTV-Specific)
These extra tips will help your MWRCTV POE camera last longer and perform better outdoors:
Troubleshooting Outdoor POE Camera Issues
If you run into problems with your outdoor POE camera, here’s how to fix them:
Final Thoughts
Mounting POE cameras outdoors is easy with MWRCTV—our cameras are designed for outdoor use, and with the right installation and weatherproofing tips, you can ensure they last for years. By following this step-by-step guide, you’ll have a reliable outdoor security system that protects your home day and night.
Remember: The key to successful outdoor POE installation is focusing on weatherproofing—securing cable connections, creating drip loops, and sealing wall holes. With MWRCTV POE cameras and these tips, you can enjoy peace of mind knowing your outdoor areas are protected.
Ready to mount your MWRCTV outdoor POE camera? Browse our selection of outdoor POE kits today, or contact our customer support team if you have any questions about installation.